Screw Machine Selection Guide
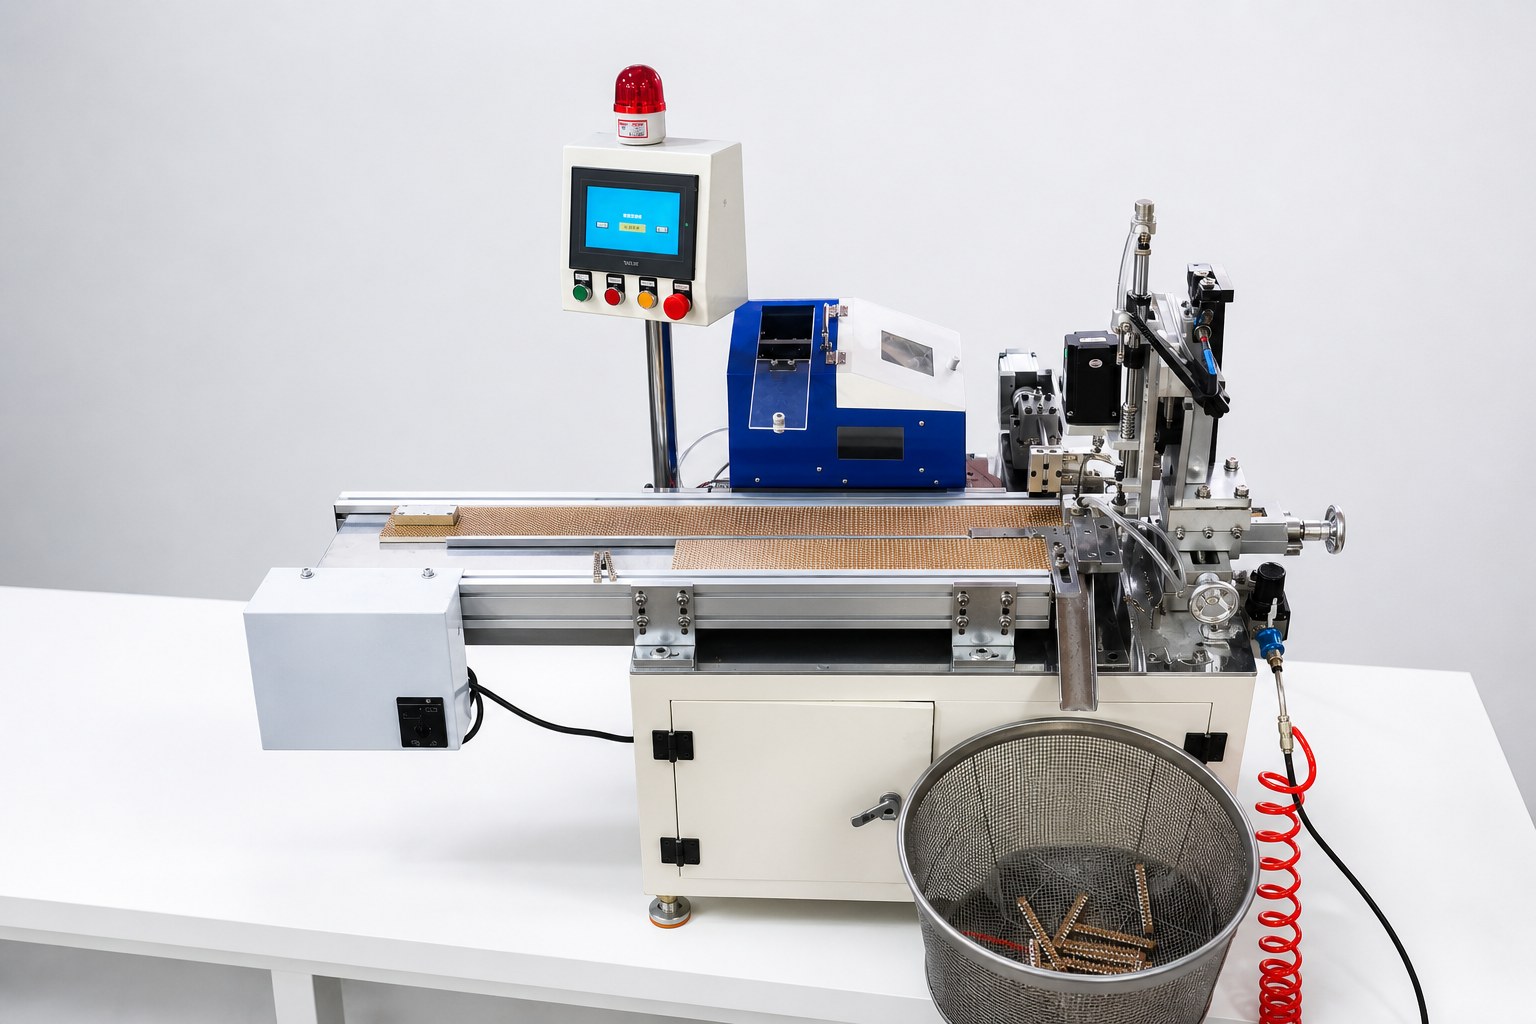
An automatic screw machine turns manual screwdriving into a repeatable, high-speed process: it feeds screws, drives them to a set torque, and reports whether each joint is good or bad. Choosing the right machine depends on the screw size, the torque range, the cycle time you need, and how the machine will fit into your production line. This screw machine selection guide covers the key decisions in the order you should make them.
Step 1: Define the Application First
Screw machines fall into two broad families, and the right choice starts with the application:
- Screw tightening machines: Feed and drive screws to a controlled torque. Used in electronics assembly, appliances, automotive parts, meters, and general manufacturing.
- Screw feeding machines: Sort and present screws one at a time to an operator or a driver; the operator or robot performs the tightening.
- Metalworking screw machines: Automatic lathes that machine small turned parts from bar stock (also called automatic screw machines). Different equipment entirely, chosen on spindle capacity and tooling.
Most buyers asking how to choose a screw machine for assembly need the first or second type. Confirm which operation you are automating before comparing models.
Step 2: Match the Screw Size and Geometry
The machine must handle your screw range: diameter (M1.0 to M8 or larger), length, head style (pan, countersunk, flange), drive (Phillips, Torx, hex, Pozidriv), and whether the screw is self-tapping or requires a pilot hole. The feeder and driver bit must match the head and drive exactly, and the feed rail must fit the screw length and shank.
Check two things against the datasheet: the supported screw diameter range and the supported length range. A machine rated M1.5–M4 may not feed a long M3 self-tapping screw reliably if the length exceeds the rail limits.
Step 3: Set the Torque Range and Accuracy
Torque control is the core of screw machine selection. Define the required torque window for the joint from the fastener spec or your quality standard, then choose a machine whose torque range covers it with the right accuracy:
| Torque class | Typical range | Best for |
|---|---|---|
| Micro torque | 0.05–2 N·m | Electronics, small appliances, terminals |
| Mid torque | 2–15 N·m | General assembly, meters, enclosures |
| High torque | 15–60+ N·m | Automotive, heavy appliances, structural joints |
Also decide the control method: clutch-type drivers (simple, lower cost, moderate accuracy) versus servo or transducer-controlled drivers (programmable torque and angle, data logging, higher accuracy). If the joint is safety-related or audited, choose servo control with OK/NG reporting per screw.
Step 4: Choose the Automation Level
Automation level is the biggest cost driver:
- Handheld screw feeder + driver: Operator presses the tool to each screw; the feeder presents screws automatically. Fastest payback for low to medium volumes.
- Bench or semi-automatic machine: A fixed driver moves down to the workpiece, often with a fixture and foot switch. Consistent depth and torque for medium volumes.
- Fully automatic (multi-axis or multi-spindle): The machine positions over multiple screw points automatically, sometimes with an XY table or robot. Highest throughput and repeatability, highest investment.
Match the level to volume: under roughly 50,000 screws per month a handheld feeder system is usually enough; above that, semi or fully automatic machines pay back faster.
Step 5: Evaluate the Feeding System
The feeder must present screws without jams, misses, or double feeding. Compare:
- Vibratory bowl feeders: Sort screws by orientation; flexible for mixed sizes; need periodic tuning.
- Rail/tube feeders: Fast and quiet for one screw type; limited flexibility.
- Direct-drive and stepping feeders: Suit small screws and high speeds; check sensitivity to screw defects.
Ask for the rated feed rate (screws per minute) and the jam rate. The feeding system, not the driver, is usually the source of downtime on automatic screw machines.
Step 6: Check Cycle Time and Throughput
Cycle time per screw is the sum of feed, drive, and verify time. A typical automatic screw tightening machine runs 1.5–3 s per screw including positioning. Calculate whether the machine meets the line target: required output per shift divided by working minutes per shift gives the maximum allowed cycle time. If the target is borderline, choose the next faster machine class or a multi-spindle configuration.
Step 7: Plan Integration and Monitoring
Think about how the machine connects to the rest of the line:
- Power supply, air supply, and noise level at the installation point.
- Signal interfaces (I/O, PLC) for start, stop, and OK/NG feedback.
- Data logging for traceability and quality audits.
- Changeover time when switching screw sizes or products.
For production monitoring, pair the line with an energy meter to track machine load and detect drift, and protect the control cabinet with the right fuses and protection devices. Production lines run cleaner when power quality and protection are planned with the machine.
Screw Machine Selection Checklist
| Parameter | Question to answer | Example result |
|---|---|---|
| Application | Tightening, feeding, or machining? | Automatic tightening |
| Screw range | Diameter, length, drive type | M1.6–M4, Torx T8 |
| Torque | Window + control method | 0.4–1.2 N·m servo |
| Automation | Volume and line layout | Semi-automatic bench |
| Feeding | Size mix and jam tolerance | Vibratory bowl |
| Cycle time | Required throughput | ≤2.5 s per screw |
| Integration | PLC, data, changeover | I/O + OK/NG logging |
With these seven answers you can compare offers on the same basis and avoid paying for automation you do not need or buying a machine too small for the joint. If you are still unsure, send us the screw samples, the torque spec, and the line volume and our engineers will recommend a machine from the screw machine range with the right feeder and control package.
Q&A
What is the difference between a screw feeding machine and a screw tightening machine?
Short answer: A screw feeding machine sorts and presents screws to an operator or robot, which then does the tightening. A screw tightening machine feeds and drives the screws itself, controlling torque and reporting OK/NG automatically. Choose a feeder to speed up manual work and a tightening machine to automate the joint completely.
How do I choose the torque rating for an automatic screw machine?
Short answer: Set the torque window from the fastener specification or your quality standard, then choose a machine whose adjustable range covers that window with margin. For audited or safety-related joints, use servo-controlled drivers with torque and angle monitoring instead of simple clutch drivers.
Can one screw machine handle different screw sizes?
Short answer: Yes, within limits. The machine has a supported diameter and length range, and changing screw size means changing the feeder rail, driver bit, and possibly the bowl tooling. If you switch sizes frequently, choose a machine designed for quick changeover and ask about changeover time.
What cycle time can I expect from an automatic screw machine?
Short answer: Typically 1.5–3 seconds per screw including feed, drive, and verification. Multi-spindle machines tighten several screws in parallel and achieve much higher throughput. Calculate your required cycle from the shift target before selecting.
How do I reduce downtime caused by screw jams?
Short answer: Use consistent, defect-free screws from one batch, keep the feeder tuned and clean, and choose a feeder type matched to the screw geometry. Reviewing the jam rate on the datasheet and asking for a trial with your actual screws identifies weak feeding designs before you buy.
Need Help Choosing the Right Product?
Our engineers can recommend the exact model, rating and configuration for your project. Tell us your requirements and get a factory-direct quote within 24 hours.